MyStorm Setup
Dan Gorringe
The instructions are all online:
Note that the tools work fine on RaspberryPi.
You will want to access four repositories:
git clone https://github.com/embecosm/chiphack.git
git clone https://github.com/librecores/gsoc-museum-edsac.git
git clone https://github.com/embecosm/edsac-peripherals.git
git clone https://gitlab.com/Folknology/mystorm.git
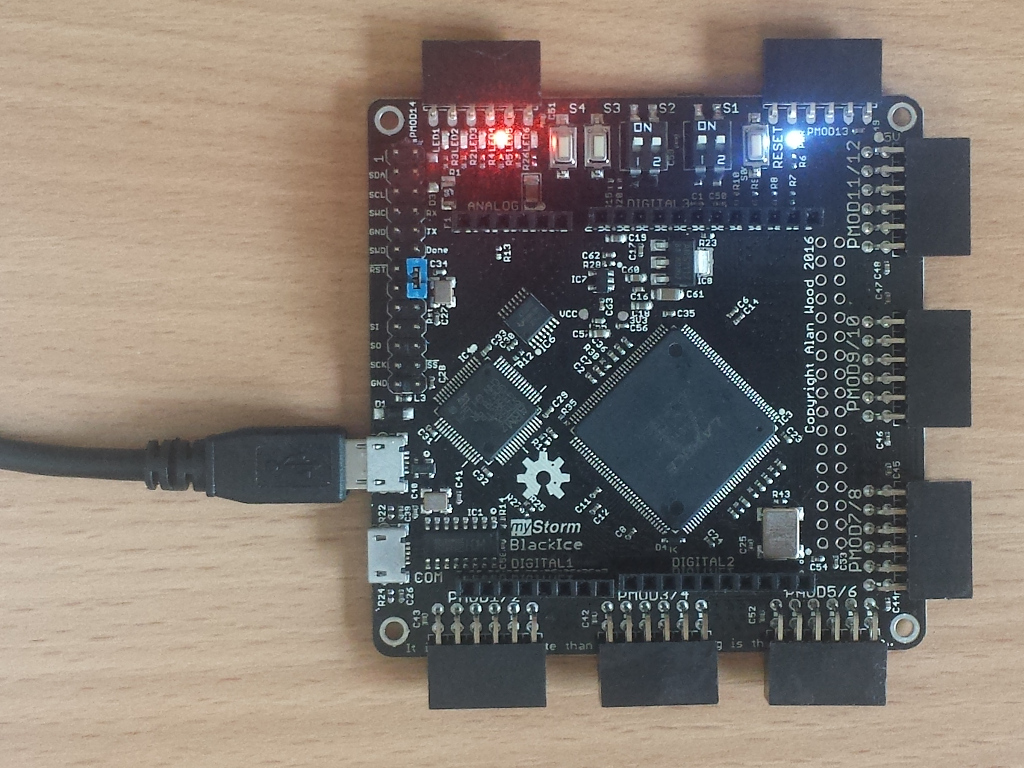
Completed examples are in the cheat_sheet directory. We'll build the very
simplest of these to drive the red LED on the board. First change into the
directory with the completed examples:
cd chiphack/cheat_sheet
Then make the LED example:
make led
This will synthesize the code in led/led.v to a bitstream in
chip.bin.
From cheat_sheet, change to the led directory and copy in the parent PCF
file:
cd led
copy ..\blackice.pcf .
Then synthesize the LED example with apio:
apio build --size 8k --type hx --pack tq144:4k
This will synthesize the code in led.v to a bitstream in
hardware.bin.
For Linux:
make SERIAL=/dev/ttyACM0 upload-linux
For Mac:
make SERIAL=/dev/cu.usbmodem1421 upload-linux
You may need to use a different value for SERIAL depending on your
machine.
Make sure you know which COM port you device is connected to by checking under
`Ports (COM & LPT)` in Device Manager. If in doubt unplug and plug in the
device to make sure.
Start up teraterm
Setup > Serial port... menu itemSetup >
Terminal... menu item and set Receive to AUTOFile > Send file... menu item and navigate to
directory containing hardware.binBinary option box and openNote. If you experience very slow download rates, unplug the device from your computer. Then plug it in again and re-check all settings above.